
What to Do After a Tanning Bed? (Sunbed Aftercare Rules to Keep Your Tan Longer)
Your tanning bed session ends in minutes. The skin effects last longer. What you do...
Microblading gives you the brows you have been trying to perfect for years. True results, however, emerge after you leave the chair. The first 14 days of microblading aftercare determine whether your strokes remain sharp and defined or gradually soften and fade.
Essential microblading aftercare rules
Proper microblading aftercare is essential. It preserves pigment, promotes flawless healing, and keeps your brows beautifully defined.
This guide breaks everything down by timeline, symptoms, and normal healing patterns. For a complete approach to post-treatment care, see our Ultimate Guide to Beauty Aftercare.
Microblading creates tiny strokes in the skin. Your aftercare protects those strokes while they heal. It helps the pigment stay even, supports clean healing, and reduces the risk of irritation or infection. This is why good Permanent Makeup aftercare matters as much as the treatment itself.
PhiAcademy (PhiBrows) highlights this clearly: “After care is an extremely important part of the PhiBrows microblading treatment.”
If aftercare is ignored, brows can heal unevenly. Color may fade faster. The skin may also become more irritated. With steady care, brows heal softer, more natural, and beautifully refined.
Save or screenshot this essential checklist to prepare for your microblading session:
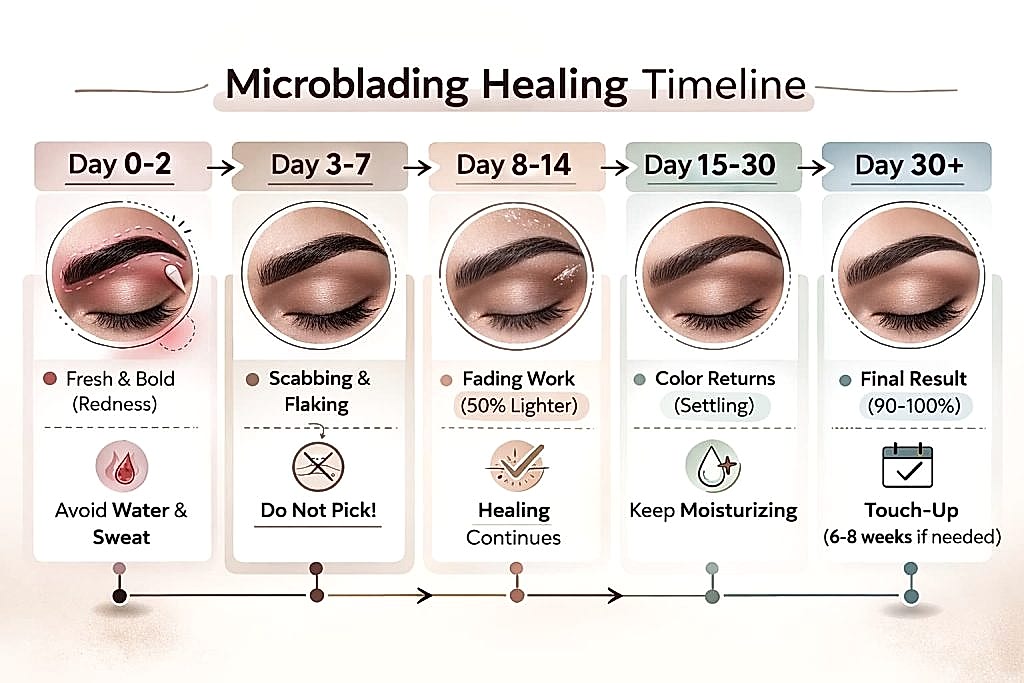
Understanding the microblading healing process helps you protect the pigment and avoid avoidable problems. Most people heal in the same stages, even if timing varies. Your main goals are simple: keep the area clean, avoid friction, and do not soak the brows during early healing.
| Phase | Timing | What you’ll notice | Do | Avoid |
|---|---|---|---|---|
| Day 0–2: Immediately after | First 48 hours | Bold/dark brows, mild redness/swelling, tenderness, possible clear fluid | Blot gently if needed; keep brows dry; cleanse around only; tiny “rice-grain” ointment if approved; touch with clean hands | Soaking, rubbing, makeup on brows, heavy sweating/heat |
| Day 3–7: Scabbing + peeling | Days 3–7 (up to 10) | Itching/tightness, flaking/scabs, patchiness | Follow artist cleansing; cleanse gently if advised (often 1–2x/day); rinse quickly; pat fully dry; keep routine simple | Picking; swimming/submerging; hammam/sauna/steam; long hot showers; intense workouts |
| Day 8–14: Color softens | Week 2 | Lighter/faint brows (“ghosting”), less flaking, mild unevenness | Continue gentle care; don’t soak; protect from sun (hat/shade); light exercise only if low sweat | Direct UV; heavy sweating; actives near brows; makeup on brows until closed |
| Day 15–30+: Final healing + touch-up | Weeks 3–6 | Color stabilizes/returns, pinkness fades | Plan touch-up at 4–6 weeks; start long-term sun protection habits | Peels/lasers/exfoliants over brows; retinol/acids directly on brows; heavy UV |
Your brows will look bold and darker than the final result. Mild redness, swelling, and tenderness are normal. You may also see a little clear fluid on the surface.
What to do:
This is the most sensitive stage. The skin may feel tight or itchy. Flaking and small scabs are common. Brows may look uneven or darker in patches.
What to do:
What to avoid (for at least 7–10 days):
Most scabbing should finish. Brows may look lighter or fainter. This “ghosting” is common. Pigment is settling under new skin.
What to do:
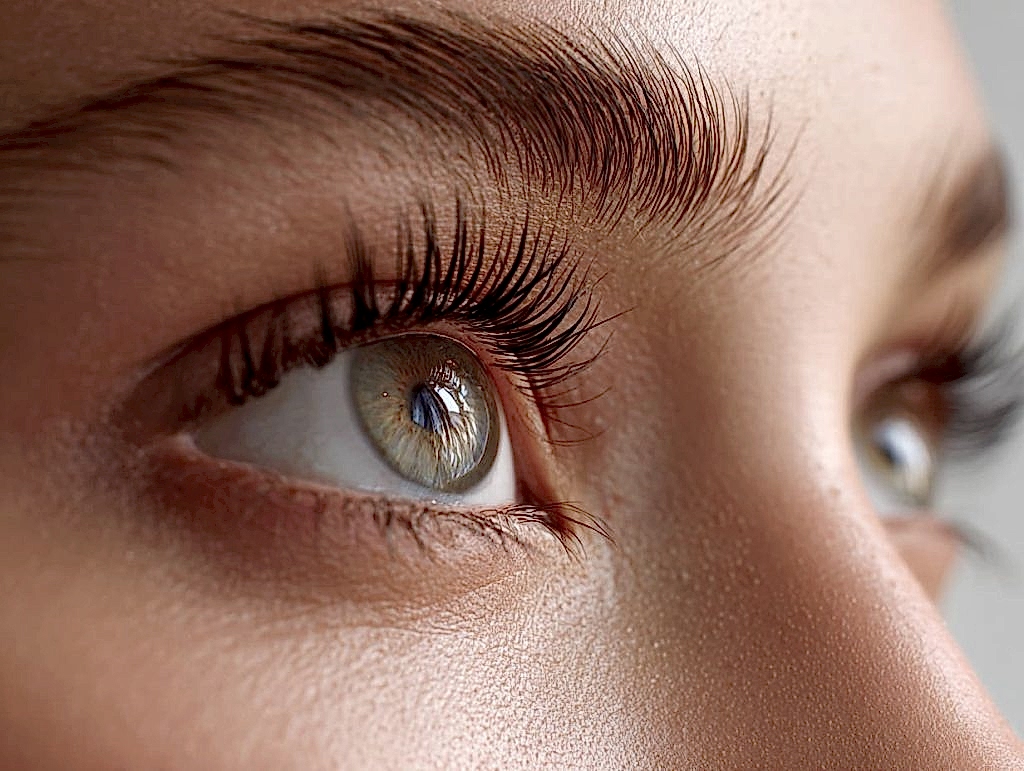
Color becomes more stable. Any pink tones should fade. Some people notice a slight return of depth as pigment settles fully.
What to know:
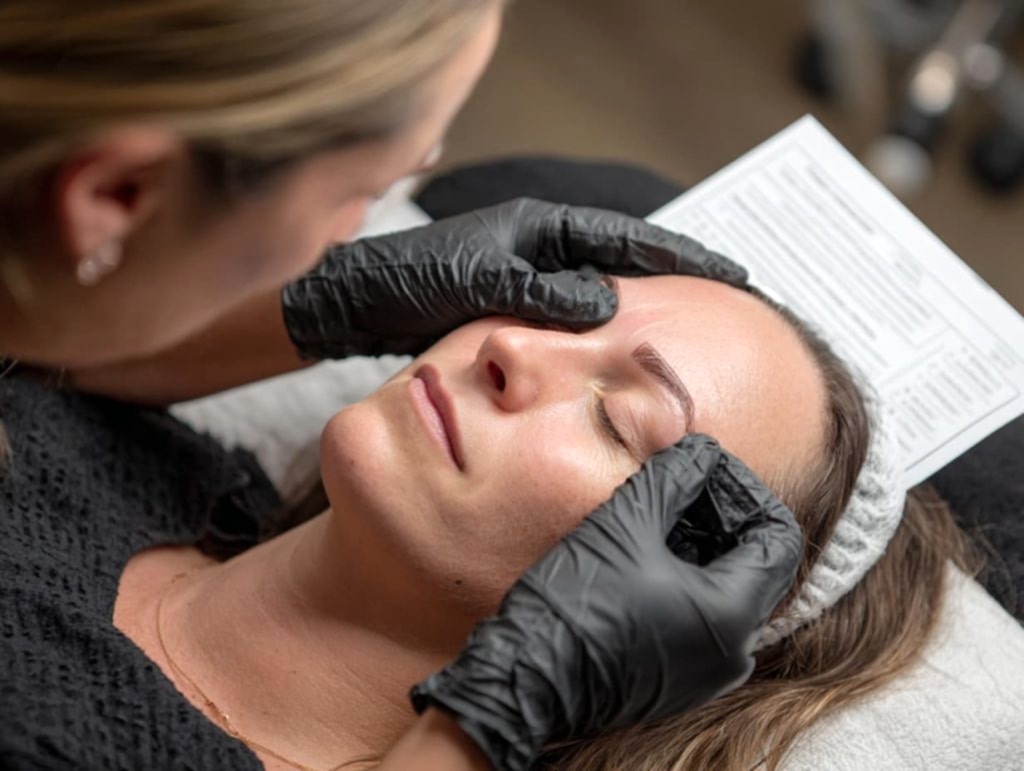
At Heli Beauty, microblading results are protected with expert-led aftercare, not guesswork. Our trained PMU professionals follow strict hygiene standards and provide clear guidance for each healing stage, including flaking, ghosting, and pigment settling. So you know what’s normal and when to reach out.
Explore our Microblading Service in Istanbul for natural-looking brows supported by reliable, safety-first care.
Following proper microblading aftercare day by day is essential to protect your pigment, prevent infection, and ensure a flawless final look. Treat your brows gently and consistently during the first weeks for the best results.
Do:
Don’t:
This routine keeps healing smooth and helps your brows look refined, even, and long-lasting.
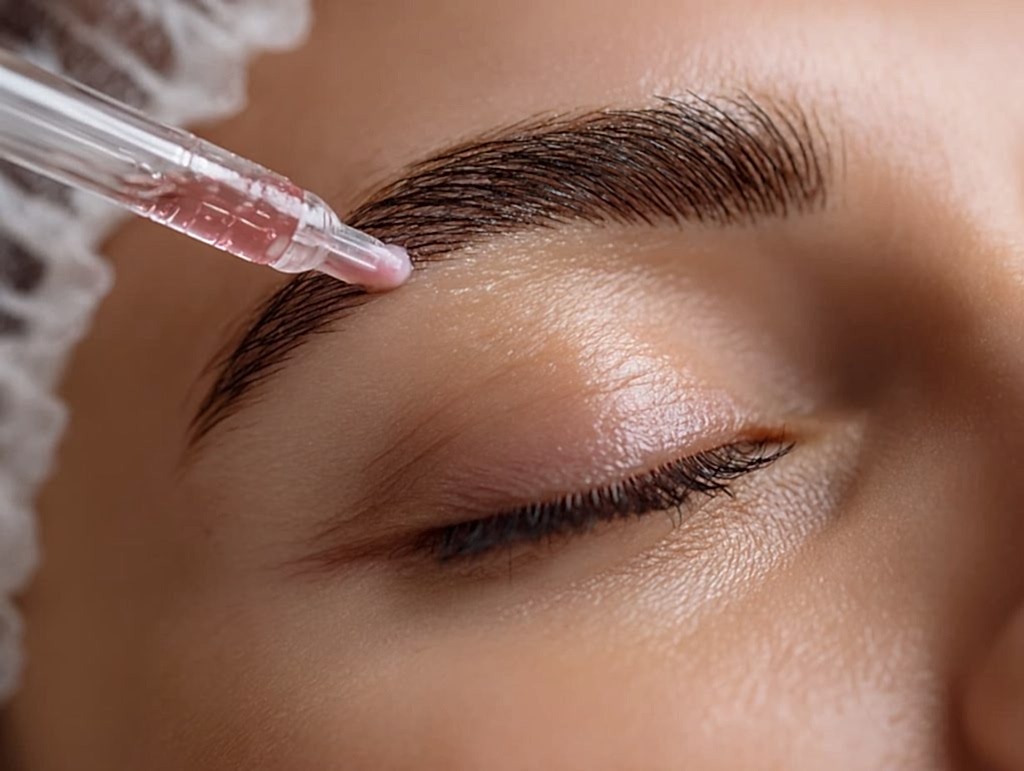
Once your brows are fully healed, long-term care helps them stay even, soft, and well-defined. Sun protection is the most important step. UV light can fade pigment over time.
Board-certified dermatologist Dr. Robert Finney, quoted by Byrdie, explains it simply: “Sun will cause tattoos to fade… keep it covered or apply SPF 30 or higher regularly if you will be in the sun.”
Start with simple habits. Wear a hat on bright days, especially in summer. Once the skin is fully closed and healed, apply SPF to the brow area daily if you spend time outdoors.
Touch-ups keep your shape crisp and your color balanced. Many people refresh every 12–18 months. Some prefer a lighter touch-up sooner, depending on skin type and sun exposure.
Keep skincare near the brows gentle. Avoid applying retinol, acids, strong exfoliants, chemical peels, or laser treatments directly over the brow area. These can fade pigment faster. Gentle cleansing and good hydration support healthy skin and better-looking results.
| Long-term care focus | What to do | Why it matters | How often |
|---|---|---|---|
| Sun protection (top priority) | Wear a hat in strong sun; once fully healed, apply SPF 30+ to the brow area when outdoors | UV light fades pigment and can make color shift over time | Daily when outside; extra in summer/bright days |
| Daily habits | Keep cleansing gentle; avoid rubbing/scrubbing the brow area | Friction and harsh cleansing can speed up fading | Ongoing |
| Skincare around brows | Keep actives off the brow area (retinol, acids, exfoliants); avoid peels/lasers directly over brows | Strong actives and treatments can break down pigment faster | Ongoing; especially before/after treatments |
| Hydration + skin support | Maintain good skin hydration (simple moisturizer around, not on irritated skin) | Healthy skin barrier helps brows look smoother and more even | Daily |
| Touch-up plan | Refresh shape/color with a maintenance session | Restores definition and balances fading over time | Typically every 12–18 months (varies by skin type/sun exposure) |
Turkey can be sunny in many seasons, and heat-based activities are common. Plan your timing with healing in mind:
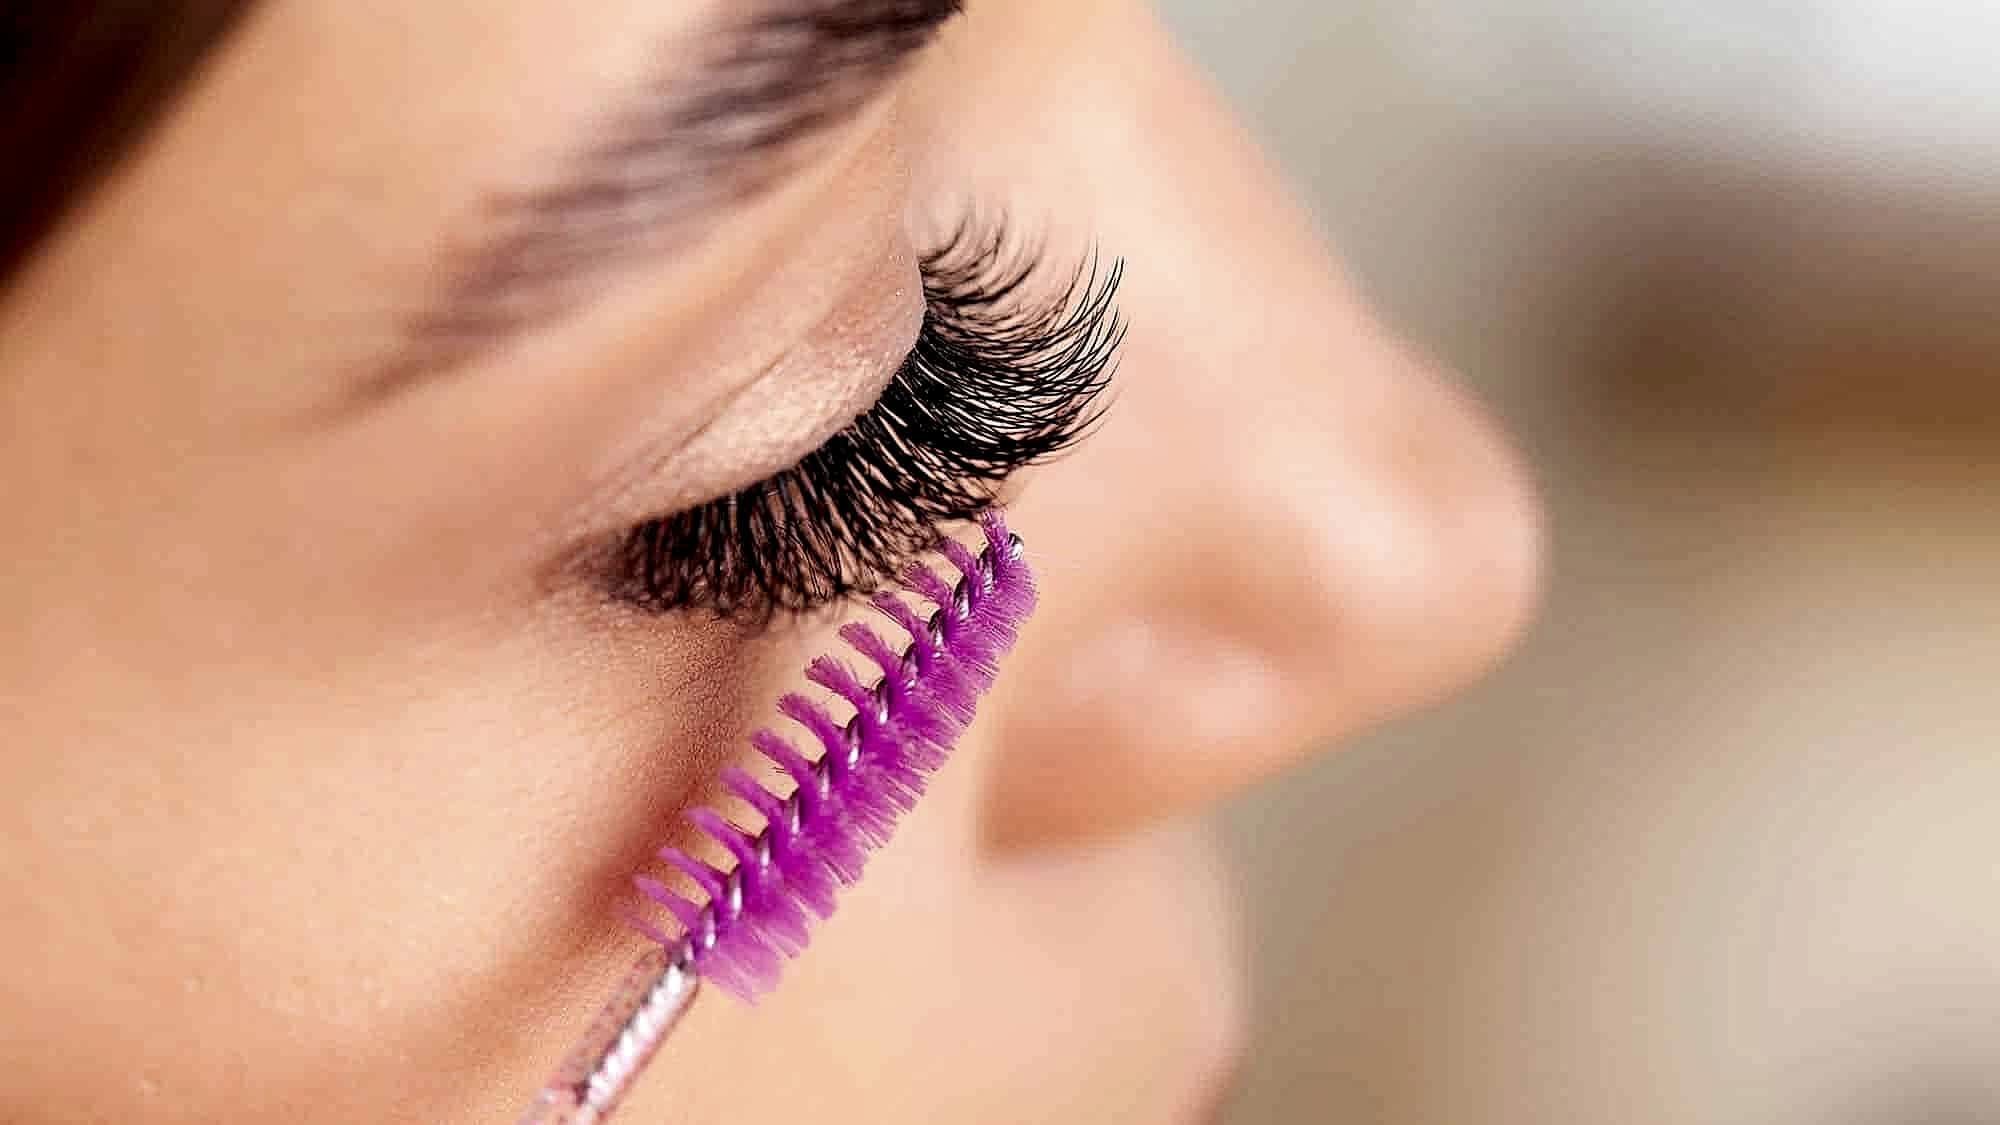
Planning multiple treatments during your trip? Your timeline matters for lashes, too. Check lash lift aftercare and eyelash extension aftercare before booking.
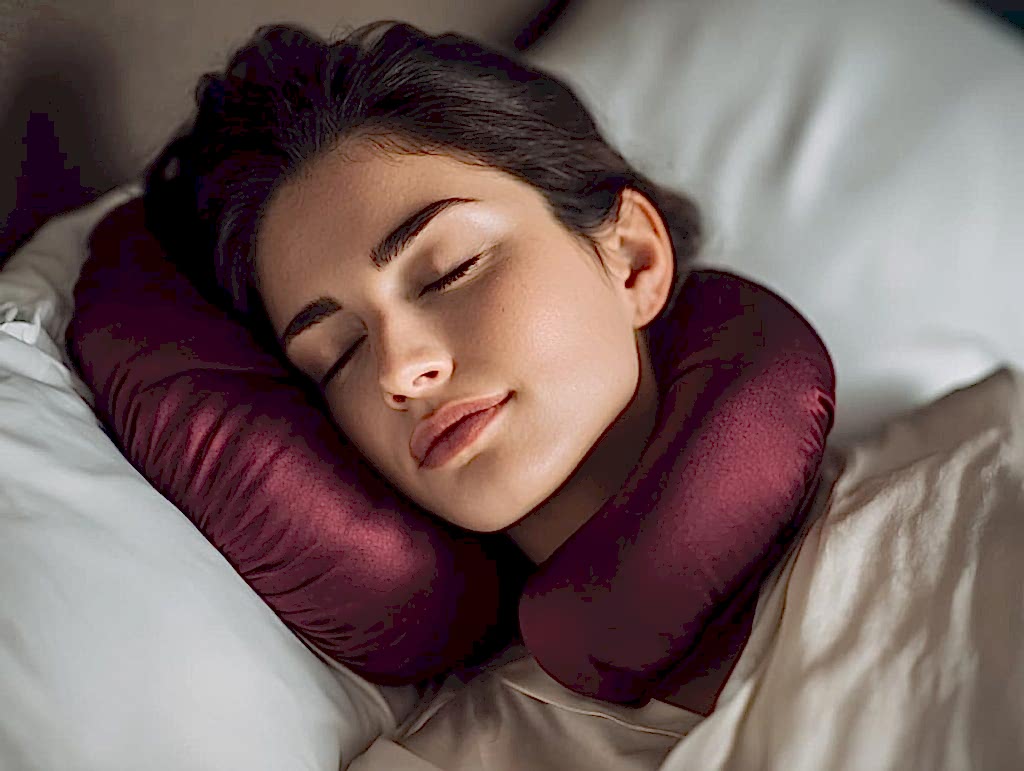
Your sleeping habits play a surprisingly important role in the microblading healing process. Sleeping on your face or side can rub against the brows, disturb scabs, and introduce bacteria, potentially affecting pigment retention.
| What to manage | Best practice | Why it matters | How long to follow |
|---|---|---|---|
| Sleeping position | Sleep on your back whenever possible | Prevents rubbing, scab disruption, and uneven pigment healing | First 7–10 days |
| Position support | Use a travel neck pillow or prop pillows behind you | Helps you stay on your back and reduces accidental turning | First 7–10 days |
| Pillowcase changes | Change pillowcases nightly (or at least every other night) | Reduces exposure to oil, dirt, and bacteria | First 7–10 days |
| Pillowcase material | Choose silk or satin pillowcases | Less friction on healing skin, gentler on brows | First 7–14 days (or ongoing if you like it) |
| General hygiene | Keep hair and skincare products off the brow area before bed | Lowers risk of irritation and contamination | First 7–10 days |
For the first 7–10 days, try to sleep on your back as much as possible. Using a travel neck pillow or arranging extra pillows behind you can help maintain this position comfortably.
Pillowcase hygiene is equally essential. Change pillowcases frequently, ideally every night during the initial healing phase, to minimize contact with oils, dirt, and bacteria. Silk or satin pillowcases are recommended; they reduce friction and are gentler on the delicate, healing skin of your brows.
By combining careful sleeping positions with clean pillowcases, you protect your pigment, reduce irritation, and support smooth, even healing.
During healing, you may notice changes that are normal, but some signs require attention.
Most patchiness is corrected at the 4–6 week touch-up. The key is to avoid self-fixing and get support early when something feels off.
Keep your aftercare kit simple. You only need a few essentials, and you should follow your artist’s method.
If your artist recommends cleansing, choose a gentle, fragrance-free cleanser. Use it carefully and avoid soaking the brows. Rinse quickly and pat dry.
In the first days, clean tissues or sterile cotton pads help with gentle blotting. If an ointment is part of your routine, apply only a thin “rice-grain” amount. Too much product can soften scabs and affect healing.
After the skin is fully closed (often around 10–14 days), protect the area from sun. A hat is best during healing. Once healed, you can add an SPF stick over the brow area to help reduce fading.
These items support clean healing, protect pigment, and keep your routine calm and easy.
While Permanent Makeup aftercare principles are consistent, each area has unique needs:
The core goal is the same: protect pigment, prevent infection, and ensure proper healing. Techniques and restrictions adjust depending on the treatment area.
The complete microblading healing process typically spans 4–6 weeks, with the most visible changes occurring in the first 10–14 days. During this period, scabbing, flaking, and pigment settling happen naturally.
Factors such as skin type, age, and adherence to microblading aftercare can slightly accelerate or prolong healing. The touch-up appointment at 4–6 weeks allows artists to perfect any uneven areas and ensure long-lasting results.
Makeup should be avoided on the treated area until scabs have naturally fallen off and the skin is closed, generally around day 10–14.
Applying cosmetics too early may introduce bacteria or disturb pigment, potentially affecting the final results. Gentle application around, but not on, the brow area is usually safe.
No. Immediately after microblading, brows appear darker than expected and gradually lighten as the skin heals. This “ugly duckling” phase is normal. The final refined look is visible only after touch-up and full healing under proper Permanent Makeup aftercare.
Microblading results generally last 12–18 months, though factors such as sun exposure, skincare products, and skin type can influence longevity. Scheduling a refresh session every year helps maintain color, shape, and symmetry without requiring a full redo.
Yes. Some clients experience minimal flaking, while others form thicker scabs depending on skin type and pigment depth. Following your microblading aftercare routine carefully can help minimize complications.
Severe redness, prolonged swelling, pus, or persistent irritation may indicate infection and require consultation with your artist or doctor. Knowing the difference between normal healing and warning signs is essential in Permanent Makeup aftercare.
Yes. Activities such as swimming, heavy exercise, or exposure to saunas during the first week can impact pigment retention. Following your microblading aftercare day by day ensures optimal results and a smoother healing process.

Time for a Self Love Appointment!
Elevate Your Look with Our Luxurious Services